Step-by-Step Visual Guide:
Quick Video Walkthrough
Walkthrough
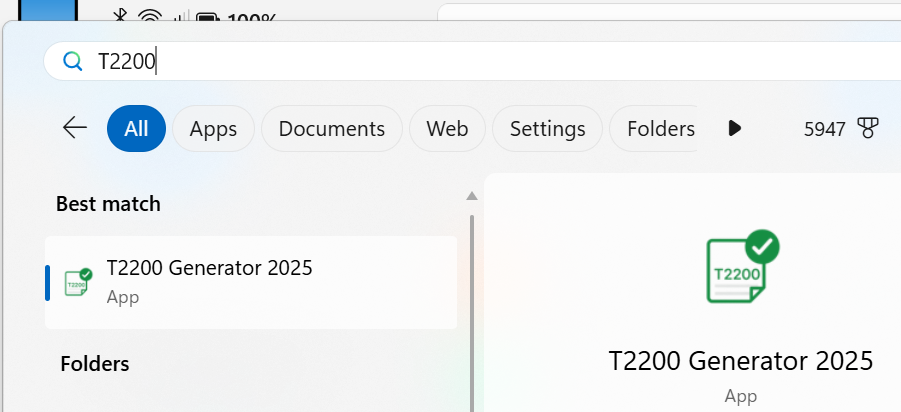
Open the application by going to Windows Start Menu>Applications>T2200 Generator>T2200 Generator:
After opening the application via Windows Start, you will be shown a single window:
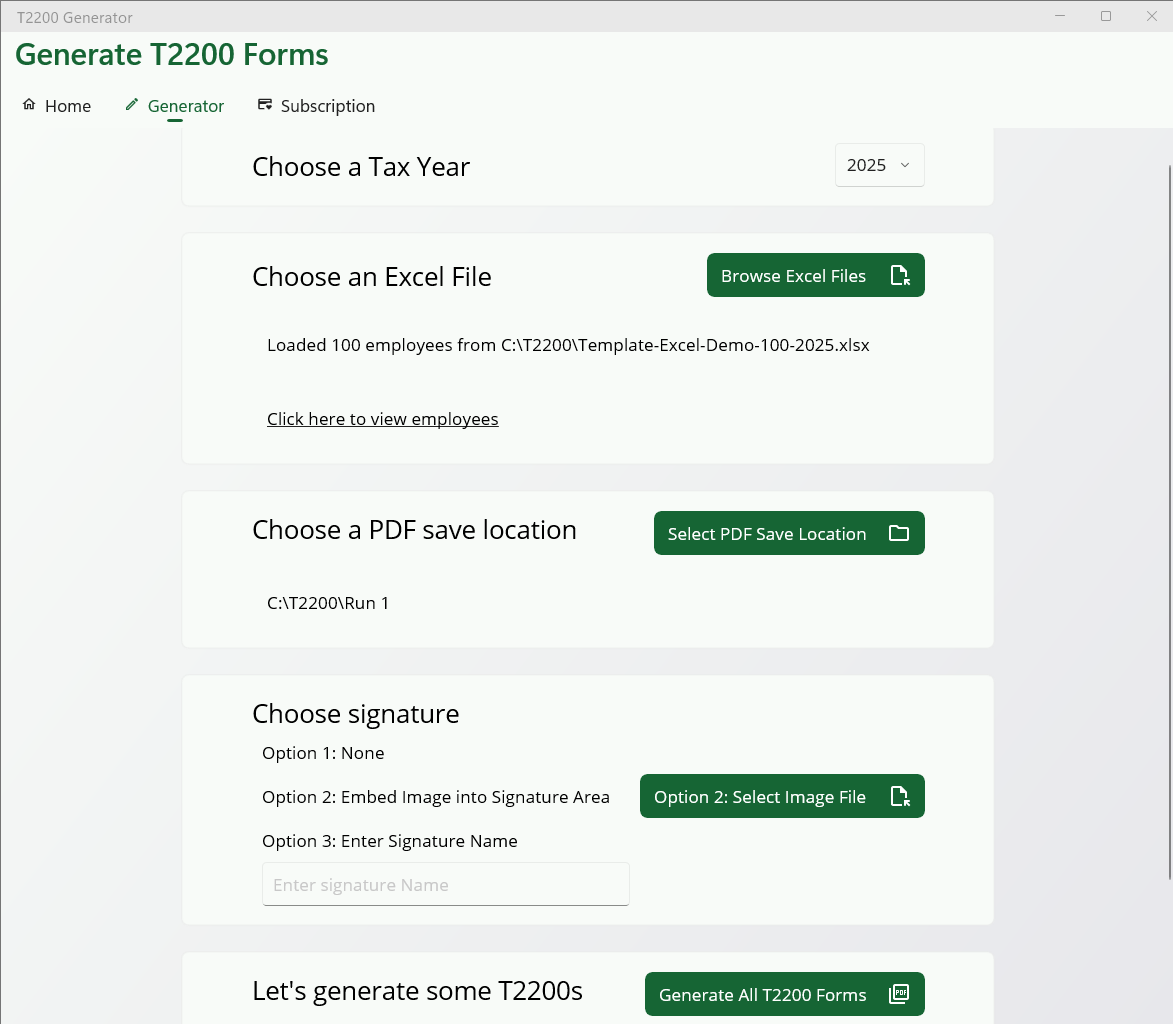
Step 1: Load Excel File
Click the Browse Excel File button, and locate and upload the Excel file.
Download Excel Template Starter File:
2025 Version:
2025 Excel Template File, click here to download2024 Version:
2024 Excel Template File, click here to download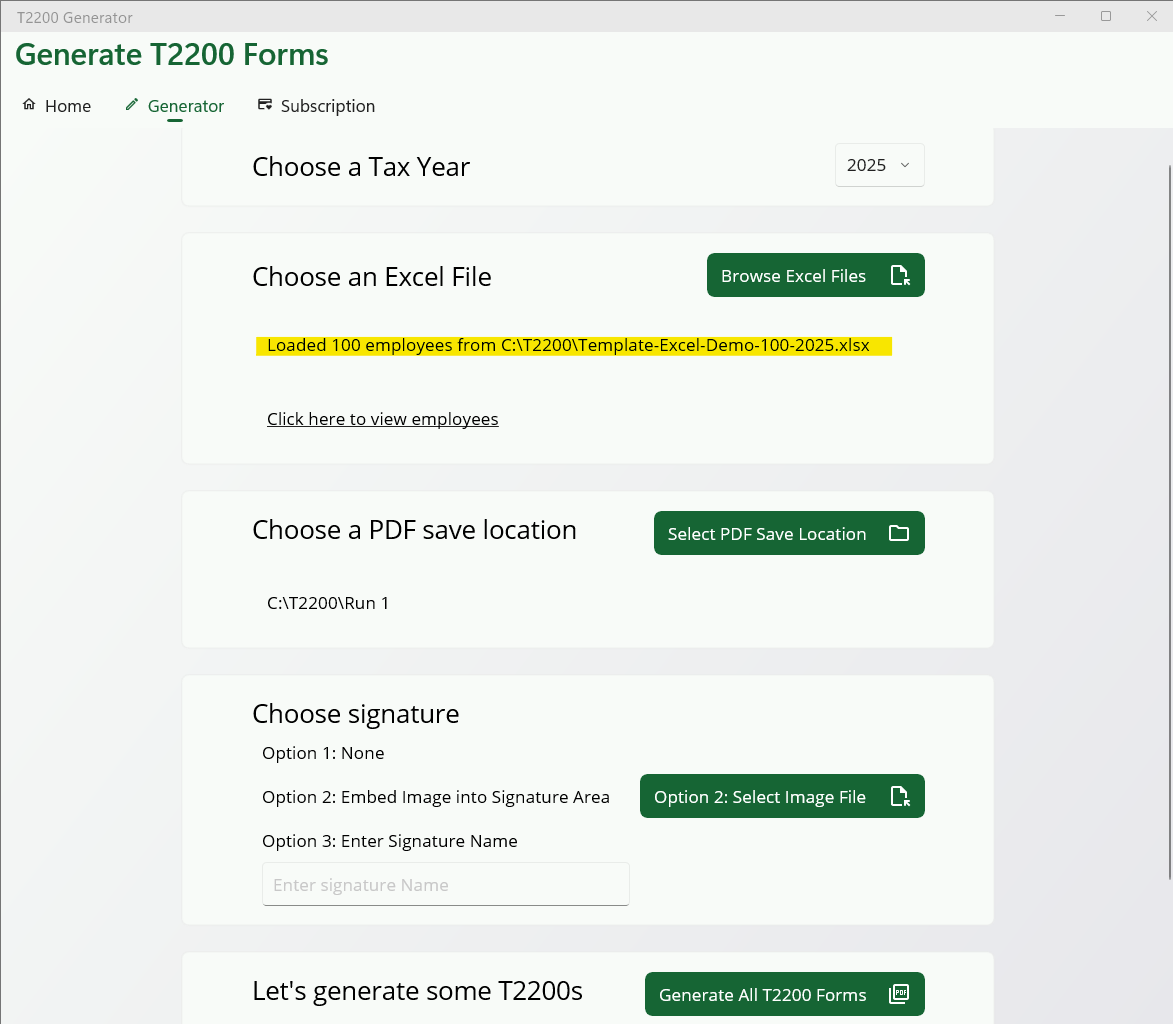
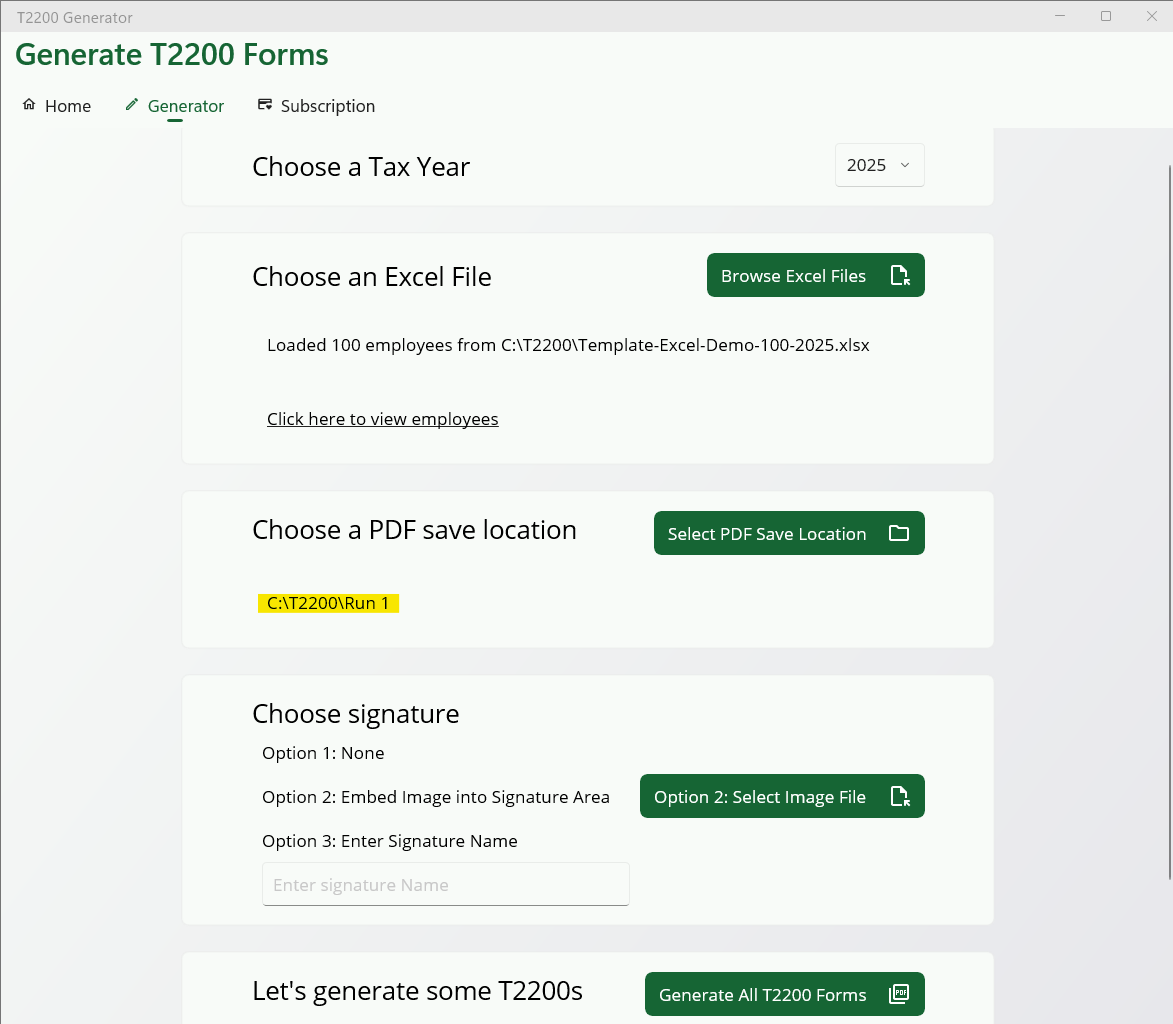
Step 2: Select Output Location
The output location is the folder where all the PDFs will be generated and saved.
We suggest creating a new folder for each run to separate different T2200 PDF versions otherwise files could be overwritten.
Step 3: Choose Signature
You have three options for signing your T2200 forms:
- None — Leave it blank and sign each PDF manually using a third-party tool like DocuSign or Adobe Acrobat.
- Text Signature — Enter your name as text and the application signs each form using a cursive font.
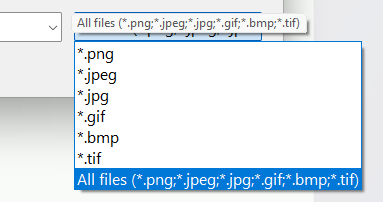
- Signature Image — Upload an image of your signature (jpeg, gif, or png) and it will be embedded into each PDF.
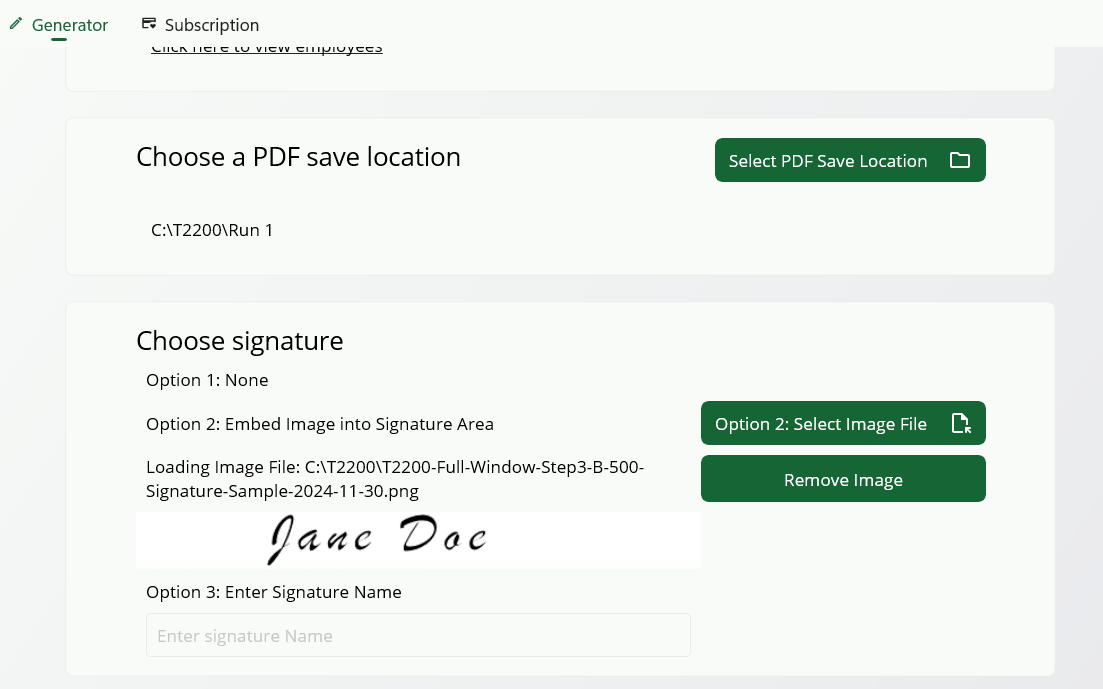
No signature:
You can leave it blank and sign each one manually (i.e. if you want someone else to review and physically put their signature on it using a third-party PDF application, say through DocuSign or Adobe's signature functionality)
Image
You can load an image of your signature and it will be embedded into the PDF file.
Image Format:
You should aim for a 10 to 1 ratio from width to height, i.e. 10 units wide to 1 unit tall. This will ensure it is appropriately scaled. The signature area is a wide but low rectangle. If you have a square or a really high rectangle, your picture will be skewed because the program scales it to fit the area.
Here is a sample image format as a guide.

Notice the narrow rectangle shape. The width is 500 pixels and 50 pixels in height. The better the ratio between the width and height, the less skewed your signature will be. Again, the use 10 to 1 ratio for best results.
Image Formats supported:
Supported Image formats are: jpeg gif png
The signature image may appear different in the PDF version.
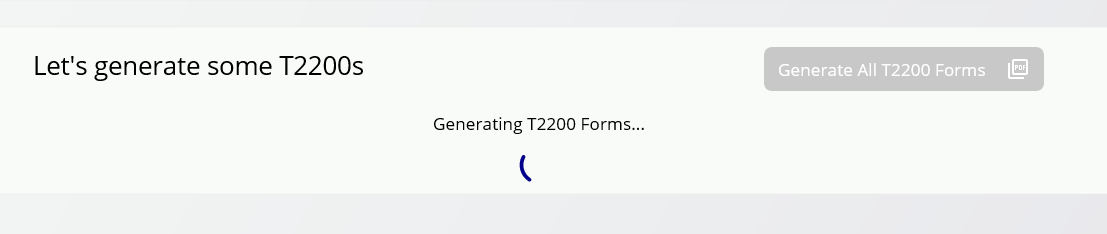
Step 4: Process T2200 Forms
Press the Process T2200 forms button to automatically fill in the PDFs forms.
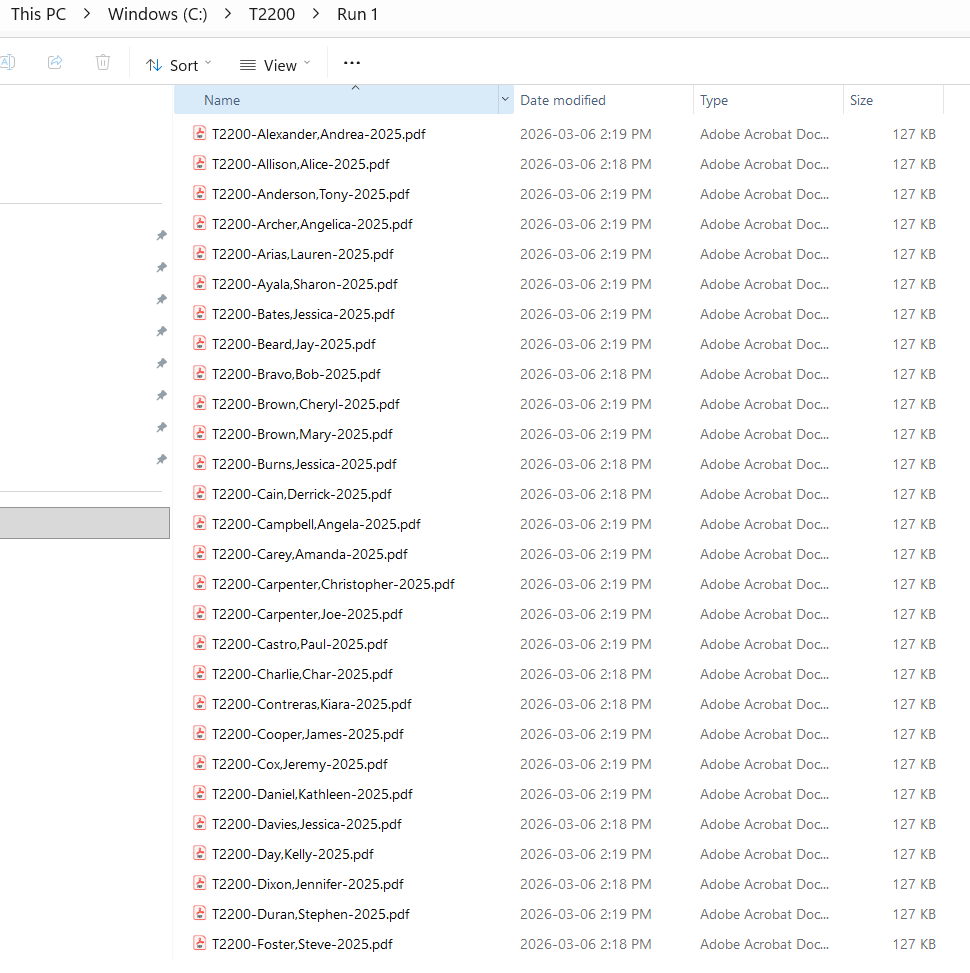
The application will generate a PDF for each row in the Excel file and save it to the output location you specified. The PDFs will be named using the format: "T2200-Last Name, First Name.pdf".

That's it.
Step 5: View T2200 Forms
Browse to the output location you specified and you will find all the generated PDFs there. You can open them to review and sign them if you haven't already added a signature.
Do you need help?
Email help@t2200.ca
If you have any questions, feedback, or need assistance, please don't hesitate to reach out to us at help@t2200.ca. We're here to help and would love to hear from you!